
Last updated November 14, 2026
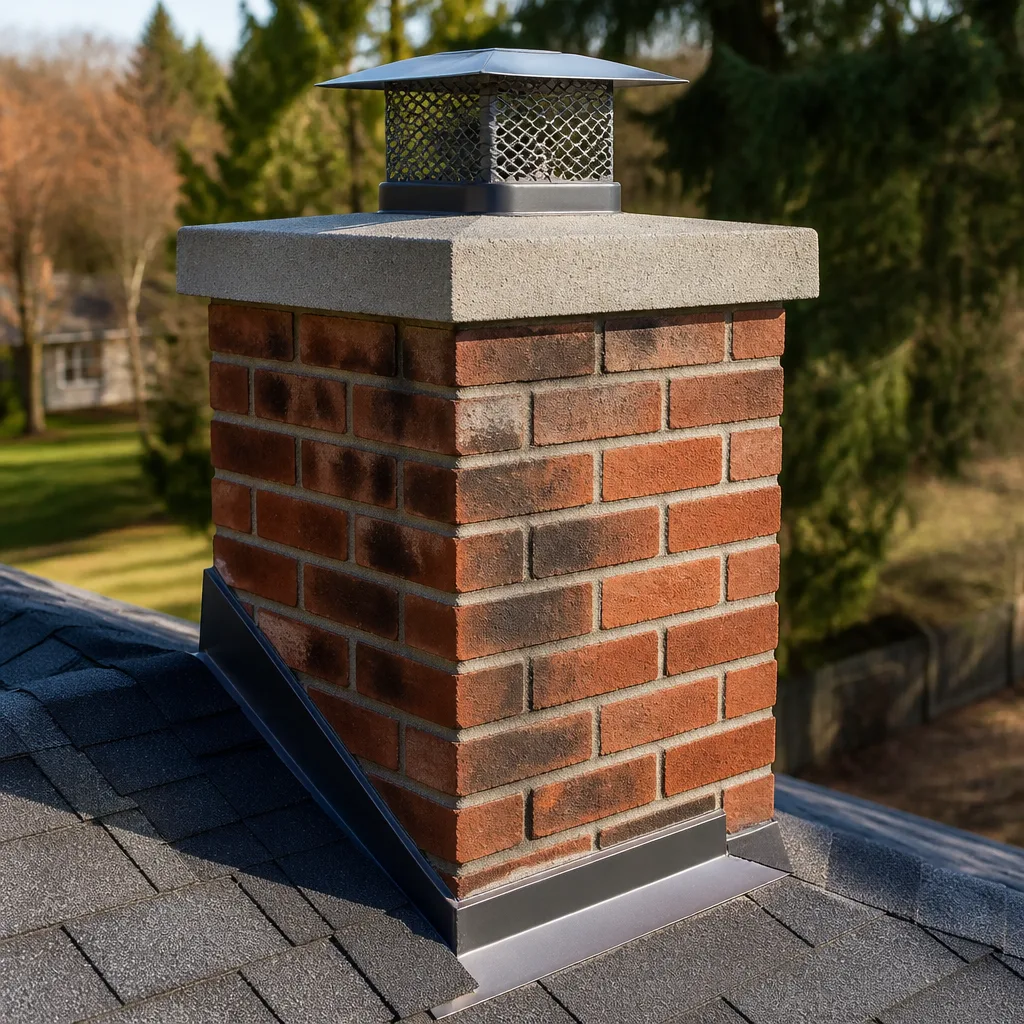 Sweep & inspection
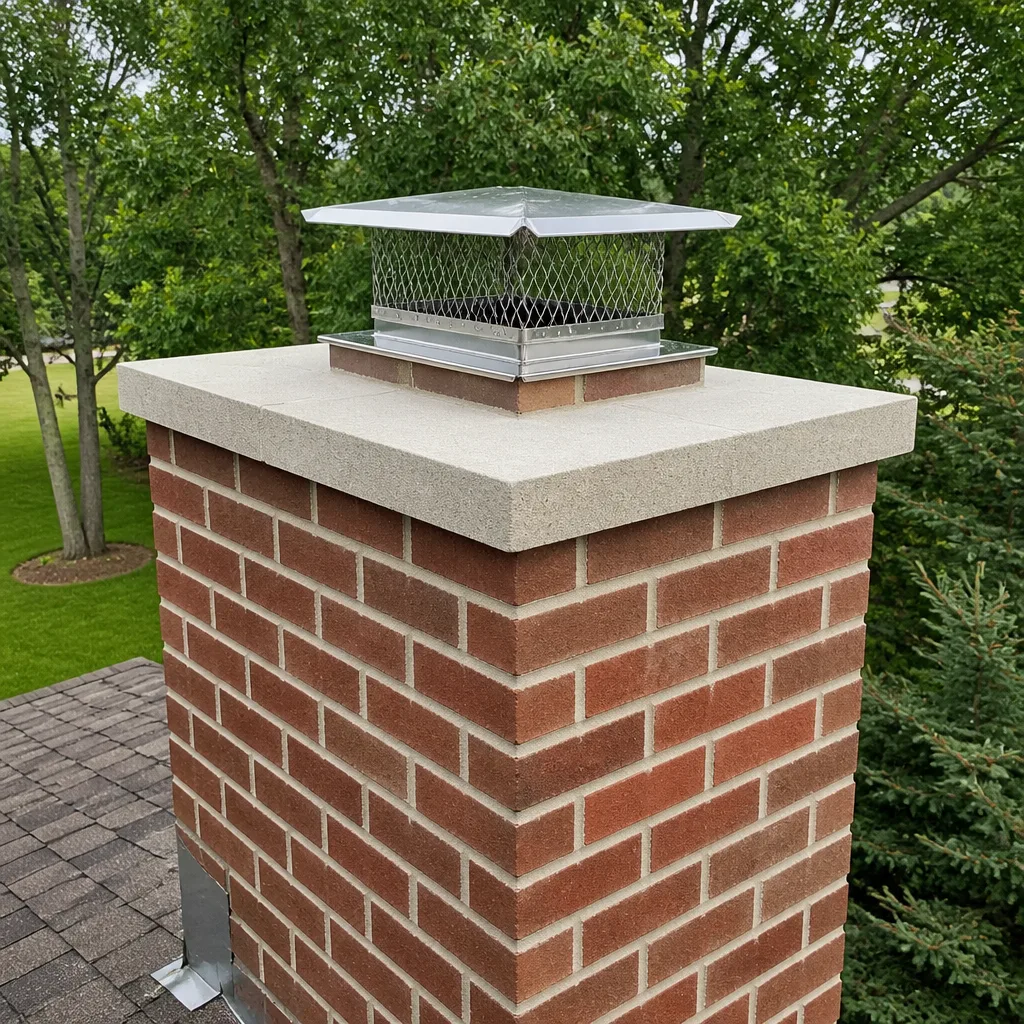 Caps & crowns
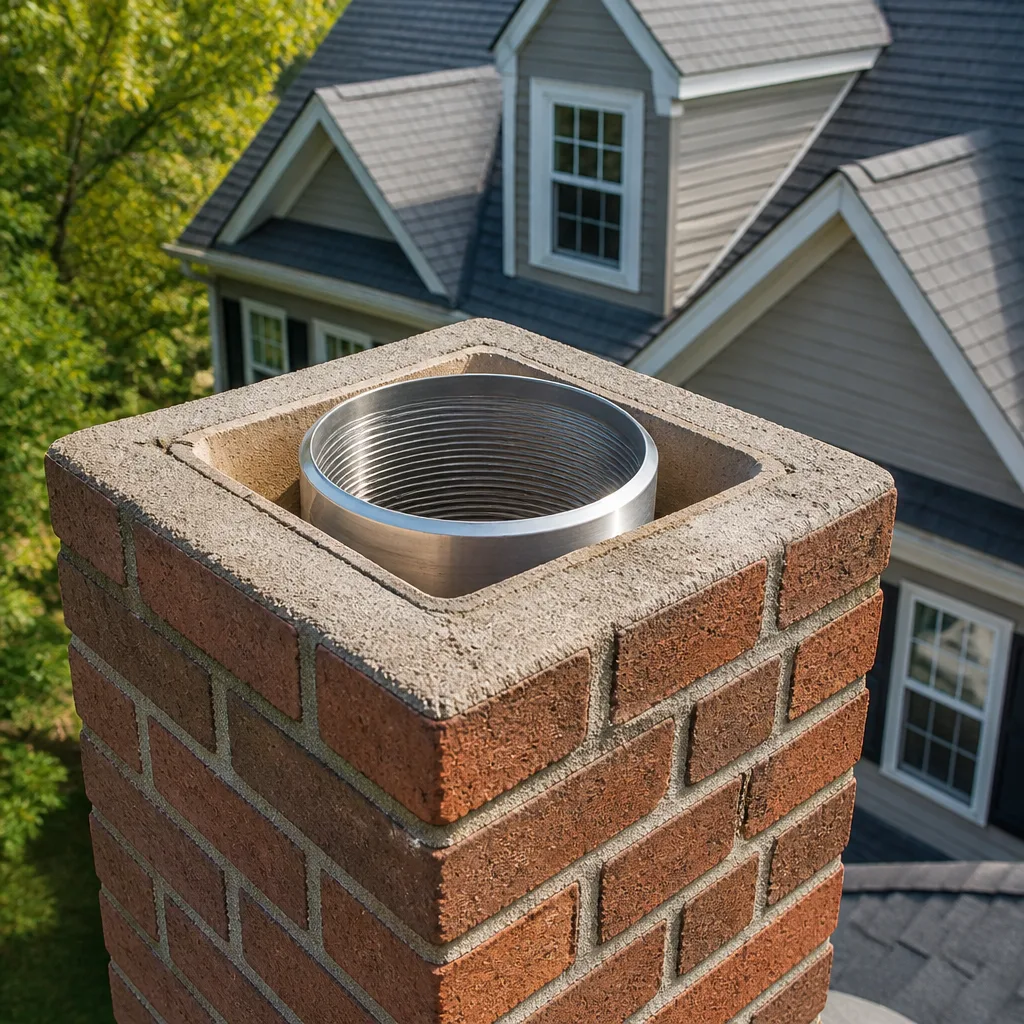 Flue relining
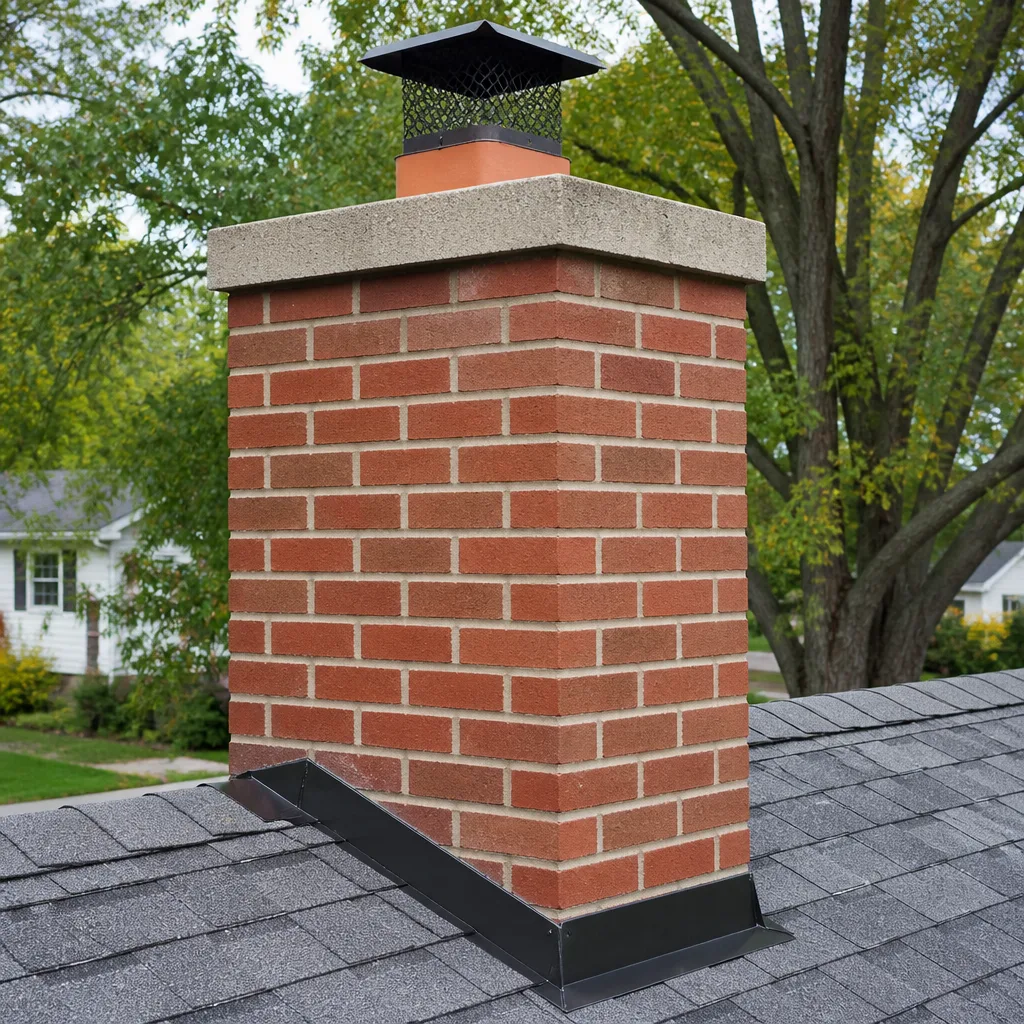 Masonry repair
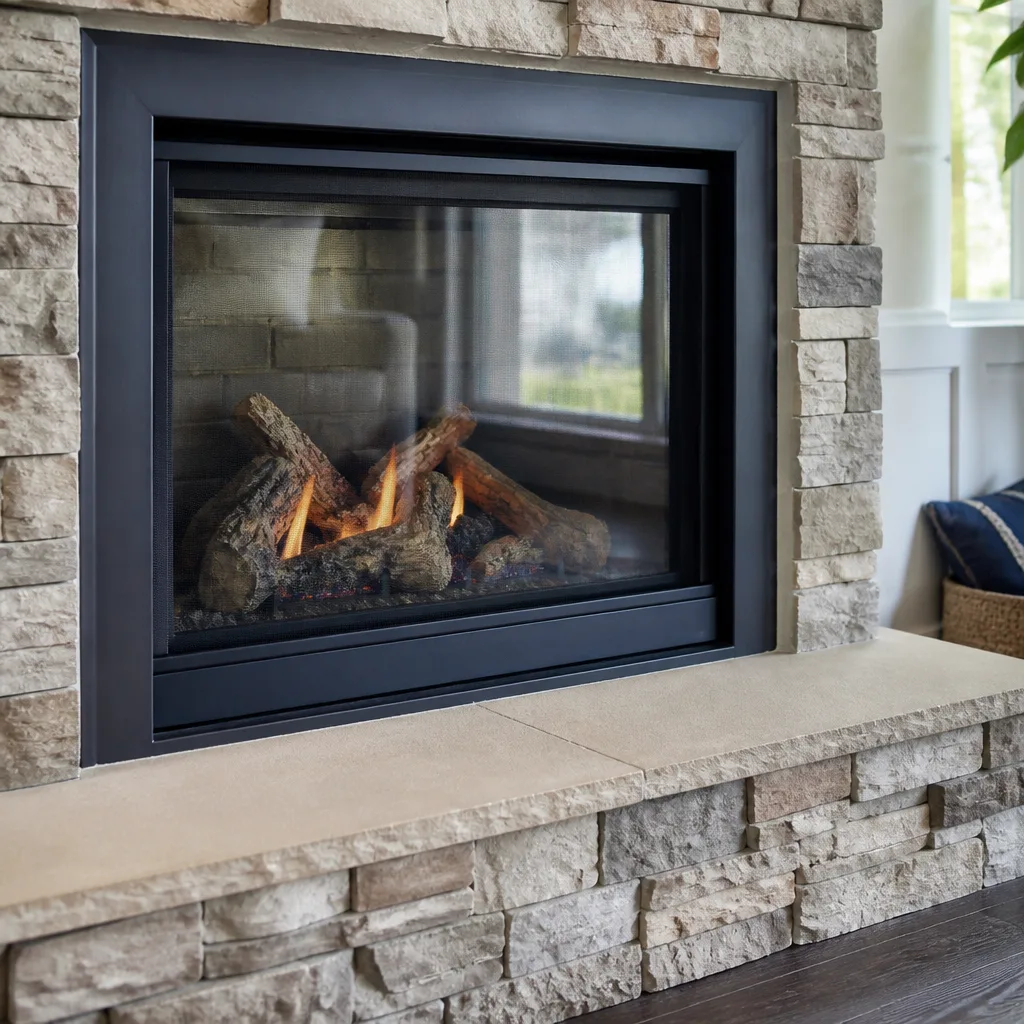 Gas fireplace service
Level 1 sweep and inspection to the NFPA 211 annual standard - flue, crown, cap, and flashing checked and photographed
Chimney sweep logs do not sweep chimneys. They loosen some creosote - which then falls where a brush and vacuum still have to collect it.
Chimney Sweep Maintenance Checklist for Midland Homeowners
A checklist that says “check for cracks” is useless if you don’t know the difference between a surface spall and a structural crack that’s letting combustion gases into your living space. Those two things require completely different responses, and the gap between them is where most homeowner anxiety lives. The point of a real maintenance walk-around isn’t to give you a list of things to worry about. It’s to teach you what you’re actually looking at, so you can decide with confidence whether something needs a call today or a note on next season’s calendar. This guide walks through the conditions you can observe yourself in a Midland home, what each one usually means, and which ones justify a professional’s eyes.
Quick Answer
A yearly chimney maintenance check covers seven observable areas: the exterior masonry and crown, the cap, the firebox floor and back wall, the damper, the flue interior, the firebox-to-flue transition, and the dryer vent run. Clean when there’s a visible soot or creosote layer about a quarter-inch thick or more, inspect the whole system once a year whether you’ve burned or not, and call a professional the moment you see loose masonry, a cracked crown, or a damper that won’t seat. In Midland’s dry, windy climate, cap and crown condition matters as much as creosote buildup.
Styles & brands we work with
- Sweep & inspection
- Caps & crowns
- Flue relining
- Masonry repair
- Gas fireplace service
Table of Contents
- Why a Midland Chimney Needs Its Own Checklist
- The Exterior Walk-Around: Masonry, Efflorescence, and Spalling
- Cap and Crown: What Midland Wind Demands
- Firebox Floor and Back Wall
- The Damper Operation Test
- Inside the Flue: What Creosote Looks Like
- The Dryer Vent in the Same Inspection Loop
- Your Annual and Seasonal Schedule
- Common Mistakes to Avoid
- When to Call a Professional
Why a Midland Chimney Needs Its Own Checklist
Most chimney maintenance advice you’ll find online was written for a wet, cold place. Midland isn’t that. Our winters are mild, which means a lot of homeowners skip the annual inspection because they “barely used the fireplace this year.” That logic is exactly backwards. A chimney that sat idle for a season has had twelve months of West Texas sun, dust, and wind working on its exterior while nobody was looking at it. The cap that was fine when you last burned in the firebox may not be fine now.
The wind is the part out-of-town guides tend to miss. Midland sits on open, flat ground, and the wind that crosses it carries grit and moves fast. That constant load works on caps, crowns, and flashing in a way that a sheltered urban chimney never sees. A cracked mortar joint on a breezy, exposed chimney doesn’t just sit there being cracked – it lets water in, and repeated wetting and drying cycles widen it. What starts as a cosmetic line becomes a repair job, and what starts as a repair job becomes a reline if it’s left long enough.
Dry heat adds a second factor. The intense summer sun bakes moisture out of masonry fast, and masonry that dries too quickly can shed its surface. That’s part of why the exterior inspection carries so much weight here. You’re not just looking for fire risk. You’re looking for the slow material breakdown that our particular climate accelerates.
Finally, there’s the seasonal rhythm. Burning season in Midland is short compared to the north, which means the creosote question and the structural question move at different speeds. Creosote accumulates based on how much you burn and how hot the fire runs. The building envelope degrades based on weather and time. A checklist that treats both as one yearly event will miss one or the other. So we split them.
The Exterior Walk-Around: Masonry, Efflorescence, and Spalling
Start on the ground and look up. This is the single most useful five minutes in the entire checklist, and you don’t need a ladder or special tools. You’re looking for three specific things: white powder, flaking faces, and missing mortar.
Efflorescence is the white, powdery, salt-like deposit you sometimes see on brick or mortar. It’s mineral residue left behind when moisture moves through the masonry and evaporates at the surface. It’s cosmetic. It’s also a signal – moisture is finding a path through, most likely from a crack above or a crown that isn’t shedding water – but the white powder itself is not a structural problem. If you scrub it off and it stays gone, the moisture path has probably closed. If it keeps returning after rain or after a good exterior wash-down, something is feeding it.
Spalling is different, and it’s the one to take seriously. A spall is when the face of the brick flakes off in a flat chip or a curl, leaving a rougher, softer layer exposed underneath. You’ll often see a small pile of brick flakes on a lower roof or a ledge if a spall has recently shed. A spall means water got behind the face of the brick, expanded, and pushed off the front – or the mortar behind the face is failing and the brick has lost its support. Either way, spalling signals that the masonry is degrading, not just marking itself with mineral deposits. Left alone, it spreads brick by brick.
What to note during the walk-around:
- Any spall bigger than a thumbprint, especially near the top of the stack
- Mortar joints with visible gaps, crumbling, or receding lines
- Brick that looks “wet” after everything else has dried
- Efflorescence that keeps coming back after a wash
- Loose flashing where the chimney meets the roof (flashing failure lets water into the attic, not just the masonry)
If you see just efflorescence and no spalls, note it and watch. If you see spalls, crumbling joints, or receding mortar, get a professional opinion before the next burning season. Chimney Sweep Midland handles repair as well as sweeping, so a spalling report isn’t a dead-end referral – it’s an inspection and a repair quote from the same visit.
Cap and Crown: What Midland Wind Demands
The crown is the sloped concrete or masonry top of the chimney that sheds water away from the flue. The cap is the metal or masonry cover that sits above the flue opening and keeps rain, birds, and debris out. These are two different components, and both are exposed to the worst of Midland’s wind.
Look at the crown first. It should be sloped away from the flue with no visible cracks, no separation from the last course of brick, and no missing chunks. A crack in the crown lets water run down into the flue or into the masonry body. That’s water that doesn’t leave until it’s moved all the way through the material – which is exactly how you get spalling months later. If the crown is cracked or the edge is separating, it needs repair. This isn’t a cosmetic thing.
Now the cap. This is the piece most homeowners underspecify, and in Midland it matters more than in most places. A standard galvanized cap will rust through in a few years of constant wind and grit. A stainless cap – a Gelco cap or a comparable HY-C unit – holds up to the same wind load without the corrosion clock running. If your cap is loose, dented, missing fasteners, or showing rust on the seams, it’s letting both water and wind in. A loose cap in a strong gust can also become airborne, which is a bad day for whatever’s below.
Signs a cap or crown needs attention:
- Crown cracks that run from the flue opening outward, or missing chunks at the edge
- Crown that no longer slopes – it’s flattened or dulled
- Cap sitting off-center or missing fasteners
- Rust streaks down the cap’s sides or at the seams
- Any bird netting or spark screen that’s torn or detached
- Rainwater getting down the flue despite the damper being closed
We stock and install caps through Gelco and Copperfield, so a loose or failed cap is usually a same-visit fix rather than a special-order wait. If you’re putting up with a rusted-out cap because “it’s still blocking rain,” it’s worth getting on the calendar. Wind finds every soft spot.
Firebox Floor and Back Wall
The firebox is where the fire actually sits, and its surfaces take the most direct heat. If you have a factory-built insert with refractory panels lining the firebox, look at the floor and back wall for cracks and chips. Refractory panels are the brick-look panels inside a prefab firebox, and they’re designed to fail gradually – small hairline cracks in a refractory panel are common and often don’t mean replacement. A cracked panel is one thing. A panel with material missing from a section is another. The line between the two is where the question stops being “watch it” and becomes “get it inspected.”
The back-wall crack is the one homeowners misread most often. A thin, tight crack that runs vertically and doesn’t widen at the ends is typically a heat-check – a stress line from expansion and contraction. A crack that has widened, has material spalling off the edges, or has opened enough to admit a coin’s edge is different. That’s the kind that can let heat or gases past a panel. Between the two lies judgment, which is why a professional should look at any crack that has changed size between seasons.
On a masonry firebox, look for the same things plus mortar joints on the back wall and sides. If the mortar in the firebox is receding or the firebrick is loose, that’s a repair, not a cleaning. We can apply HeatShield ceramic resurfacing to a firebox or flue that’s salvageable, which keeps you out of a full reline when the right fix is restoration. That’s the “restore before you replace” logic, and it applies to fireboxes too.
What to watch for on the firebox:
- Hairline cracks that stay the same size year over year – note and monitor
- Cracks that widen, chip, or have material missing – professional inspection
- Crumbling mortar in the firebox joints – professional inspection
- A gray-white ashy deposit on refractory panels that isn’t from the wood, which can signal heat damage
- Any crack big enough that you can see the panel structure behind it
The Damper Operation Test
“Check that the damper opens and closes” is useless advice. Here’s what to actually do. With the fireplace cold and no fire, open the damper fully. The plate should travel from its closed position to its open stop without sticking. Note two things: the resistance, and the travel range. A damper that opens easily in the first third of its travel and then fights you the rest of the way needs the pivot point or the track looked at. A damper that opens but won’t reach its stop leaves less airflow than a fully open flue. A damper that won’t close flush – you can see light past the edge, or the handle won’t seat – means it’s not doing its job of keeping heat and conditioned air in the house when the fireplace isn’t in use.
Feel for grit, scraping, or a sudden stiff spot in the travel. Those usually mean rust, soot buildup, or a bent pivot arm. On a top-sealing damper – the kind that seals at the top of the flue rather than at the firebox – the test is different: it should open with a smooth cable pull and close with a positive seat at the top of the flue. If you feel uneven resistance or the cable feels slack, note it.
The step-by-step on a standard throat damper:
- Latch the flue open with the handle or pull ring, then look up the flue with a flashlight to confirm the damper plate is clear of the opening.
- Close the damper fully and check that it seats against the frame with no visible gap at the edges.
- Open it again slowly and feel for the full travel from closed to the open stop.
- Note any scraping, sudden stiffness, or wobble in the plate.
- Repeat a second time to confirm the pattern is consistent.
If the damper sticks, won’t seat flush, or has obvious rust in the pivot, it’s a repair – and one worth doing before you burn. A stuck-open damper sends your heated air up the flue in winter and lets humid outside air in when it’s not in use.
Inside the Flue: What Creosote Looks Like
You shouldn’t be climbing the flue – this is where the checklist hands off to a trained technician with a camera and rods. But you should know what the technician is looking for, because it helps you understand the report you’ll get back. Creosote comes in three general forms. Stage one is a light, flaky soot, easy to sweep. Stage two is a crusty, partially glazed layer that takes a rotary brush to remove. Stage three is glazed, shiny, and hard – the result of slow, cool fires and a lot of burning in a short time. Stage three is the one that can ignite.
You can also look at the flue from below before any sweep. Open the damper, shine a flashlight up the flue, and notice what you can see. A light film is fine. Heavy buildup, a glossy sheen, or debris hanging off the sides means you’re overdue. Any visible flue damage – cracked tiles, gaps between tile sections, loose clay pieces – also warrants a professional look. This is the same logic that leads a technician to camera-inspect: what’s visible from below is only part of the story, and the camera shows the whole run.
We won’t recommend a reline without camera evidence you can see for yourself. That’s the standard we hold to, because a homeowner told they need thousands of dollars of flue work has no way to verify it without being shown. If your flue is salvageable and only needs restoration, we apply HeatShield and avoid the full reline. If the flue is beyond saving, we install a DuraFlex liner – the professional standard. Either way, the recommendation follows the evidence, not the other way around.
On the creosote question, the burning-season math matters. In a mild Midland winter, the temptation is to burn cooler, slower fires – which actually produces more creosote per cord than a hot, bright fire. So the “we barely burned this year” chimney can still be a creosote chimney. That’s the counterintuitive bit worth remembering.
The Dryer Vent in the Same Inspection Loop
Here’s the part most chimney checklists leave out entirely: the dryer vent sits on the same principle as the flue. It’s a duct carrying heat and combustion byproducts (in a gas dryer) out of the house, and it’s a fire risk when it clogs. A lint-clogged vent reduces airflow, which raises the dryer’s operating temperature, which in turn can ignite lint that’s clinging to the duct walls. That’s one of the leading causes of residential fires, and it’s the reason we offer dryer vent cleaning alongside chimney work – one call covers the whole combustion-exhaust loop.
The dryer vent portion of the walk-around, start to finish:
- Pull the lint trap and check it, then look past the screen into the trap housing with a flashlight – if you see lint packing the housing walls, that’s the first sign of a clogged run.
- Go outside and find the termination cap on the exterior wall. It should have a flap or grille that moves freely, no birds’ nests or screens clogged with lint, and clear space around it.
- With the dryer running on air-fluff (no heat), check the airflow at the termination. A strong, steady stream is normal. Weak airflow, a fluttery flap, or hot air at the cap is a warning sign.
- Look at the transition duct behind the dryer – the flexible section between the dryer and the wall. Any crushed, kinked, or torn section is a restriction, and a plastic or foil flex duct should be replaced with a rigid or semi-rigid one.
- Note any lint visible on the floor or wall behind the dryer, which usually means the transition joint is leaking.
If the run is long, has multiple 90-degree elbows, or terminates at the roof, a homeowner can’t meaningfully check it – that’s where a professional cleaning with a proper vent brush and camera comes in. We carry Famco-compatible venting components so a crushed transition duct or a stuck flap can be replaced on the spot. If you’re already having the chimney swept, ask for the dryer vent as a combined visit. The whole point is that one qualified specialist can see the whole system.
Your Annual and Seasonal Schedule
The chimney inspection standard in the trade is once per year, whether you’ve burned or not. Cleaning is on a different clock: clean when the soot or creosote layer reaches about a quarter-inch, which for a heavy user can mean more than once per season and for a light user can mean every second or third year. Splitting the two is what keeps people from either overpaying for cleanings they didn’t need or running a creosote-loaded flue because “it’s only been a year.”
A practical calendar for a Midland home:
- Early fall (before burning season): full inspection and sweep if needed. Get the cap and crown checked before winter wind season. Book the dryer vent cleaning on the same visit.
- Mid-burning-season: a quick visual – look up the flue from below with a flashlight, check the damper, empty the ash pan responsibly.
- Late spring (after burning season): exterior walk-around. Look for new spalls, efflorescence, crown cracks, or cap damage. This is when winter’s wind damage shows up.
- Any time: after a strong storm or a high-wind event, glance at the cap and crown from the ground.
Our technicians work under the same brand set professionals use nationwide – DuraFlex, HeatShield, Gelco, Olympia Chimney, Famco, and Copperfield – which means a checklist finding usually has a fix on the same visit rather than a “we’ll order it and come back.” A chimney sweep in Midland needs to be able to follow an inspection with a repair quote and, when it’s the right call, an actual repair. Otherwise the checklist just produces anxiety.
Common Mistakes to Avoid
- Treating efflorescence as a problem and spalling as cosmetic. They’re backwards. The white powder is usually cosmetic; the flaking brick face is the one that signals deteriorating masonry.
- Skipping the inspection because “we barely burned this year.” A chimney that sat idle all season had twelve months of sun and wind working on its exterior. The lack of creosote doesn’t mean the masonry is fine.
- Judging the cap by whether it blocks rain. A rusted, loose cap is still blocking rain right up until a gust takes it off. Look at the fasteners and the seams, not just the coverage.
- Replacing the whole firebox over a hairline crack. A tight heat-check crack that hasn’t changed is usually a monitor situation, not a replacement. Get a professional opinion before you spend on a full refractory rebuild.
- Treating the dryer vent as a cleaning chore. It’s the same fire-safety category as the chimney. If lint packs the run, heat has nowhere to go.
- Calling only after something looks wrong. Annual inspection catches the small things – a widening crown crack, a loose cap fastener – before they become repair jobs. Waiting until you see smoke in the house is the expensive path.
- Assuming a sweep-only company can finish the job. If the inspection finds a failing flue liner, a sweep-only competitor has to turn the work away rather than restore the flue. Ask upfront whether the company that inspects is equipped to reline or resurface if the inspection calls for it.
When to Call a Professional
Bring in a professional when you see any of the following: spalling brick or receding mortar on the exterior, a crown crack that’s opened or a chunk that’s missing, a cap that’s loose, dented, or rusted through at the seams, a damper that won’t seat or has a stiff spot in its travel, a firebox crack that’s widened or has material missing, visible flue damage, heavy creosote visible from below, or a weak dryer vent airflow at the exterior termination. Also call if you’ve never had the chimney inspected and you don’t know its history, if the home changed hands recently, or if you’ve changed what you burn (a switch to a different fuel or to a wood insert changes the creosote math).
Chimney Sweep Midland offers free estimates in Midland – call (866) 942-7865. We answer 24/7. Fast dispatch from 7am to 7pm, Sunday through Friday. A call outside dispatch hours is booked into the next opening. We bring camera inspection and a photo report with every full inspection, so you see the evidence before you decide anything.
See the difference
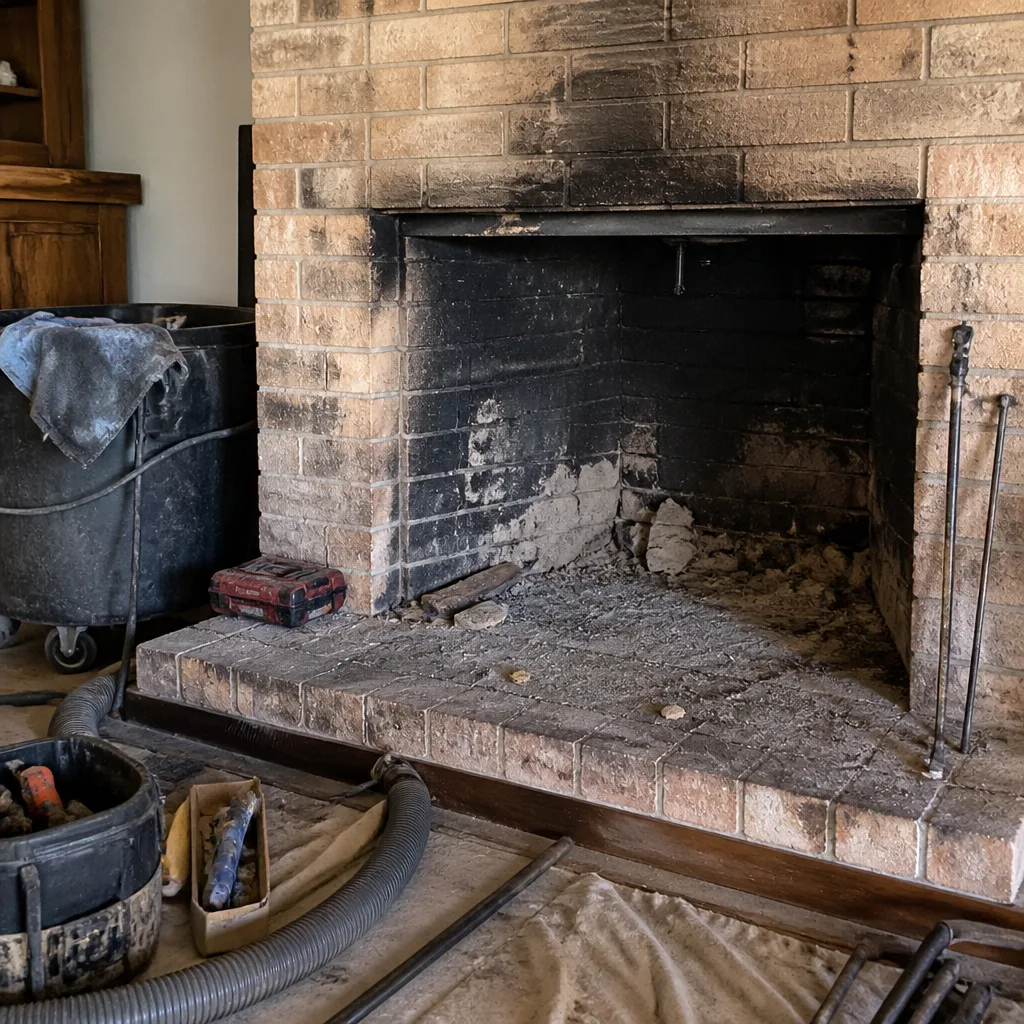
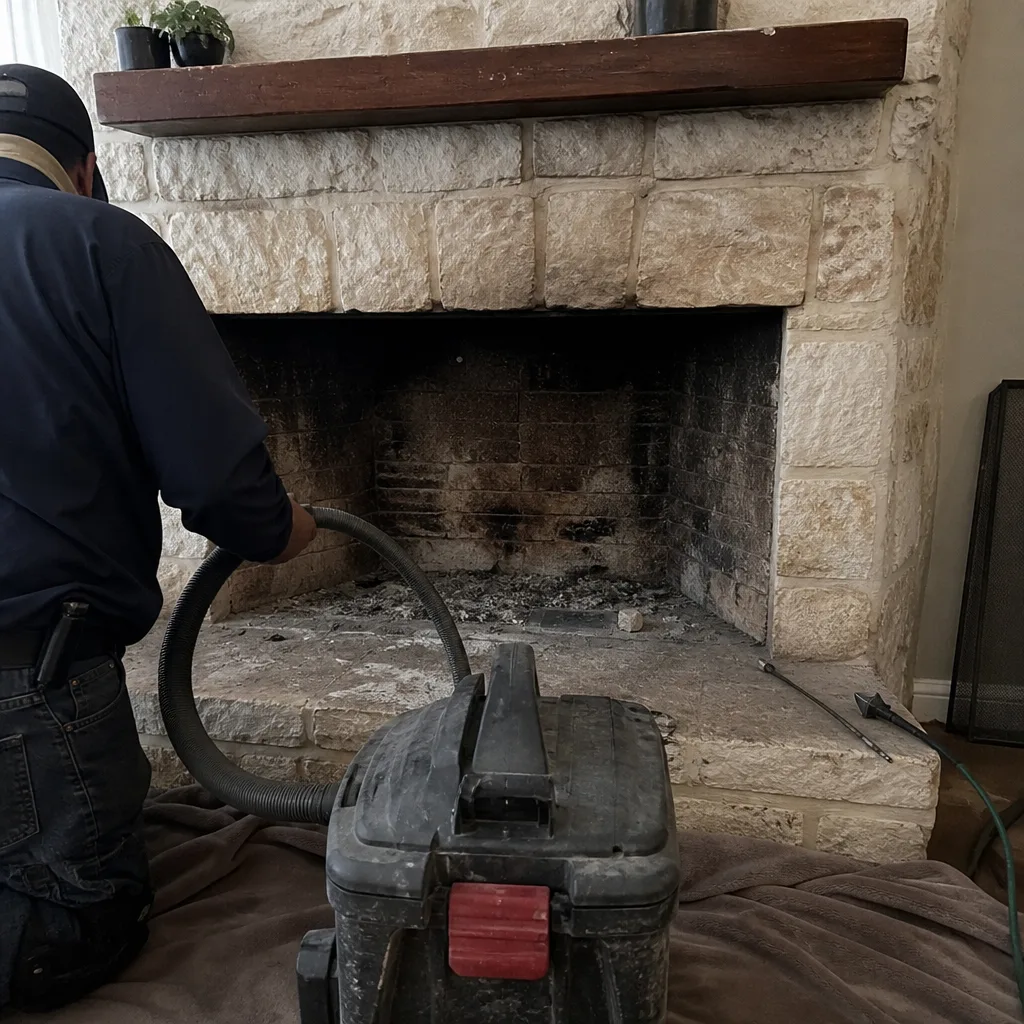 Before
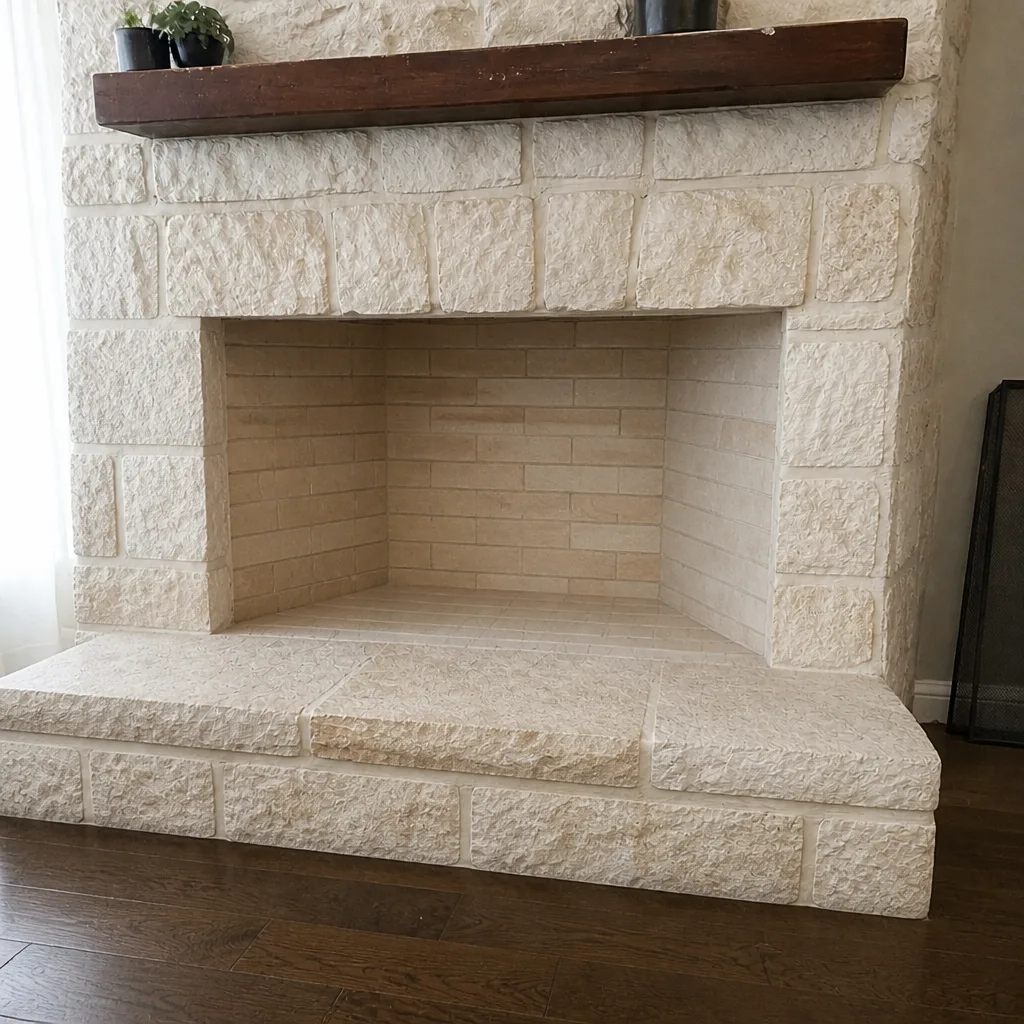 After
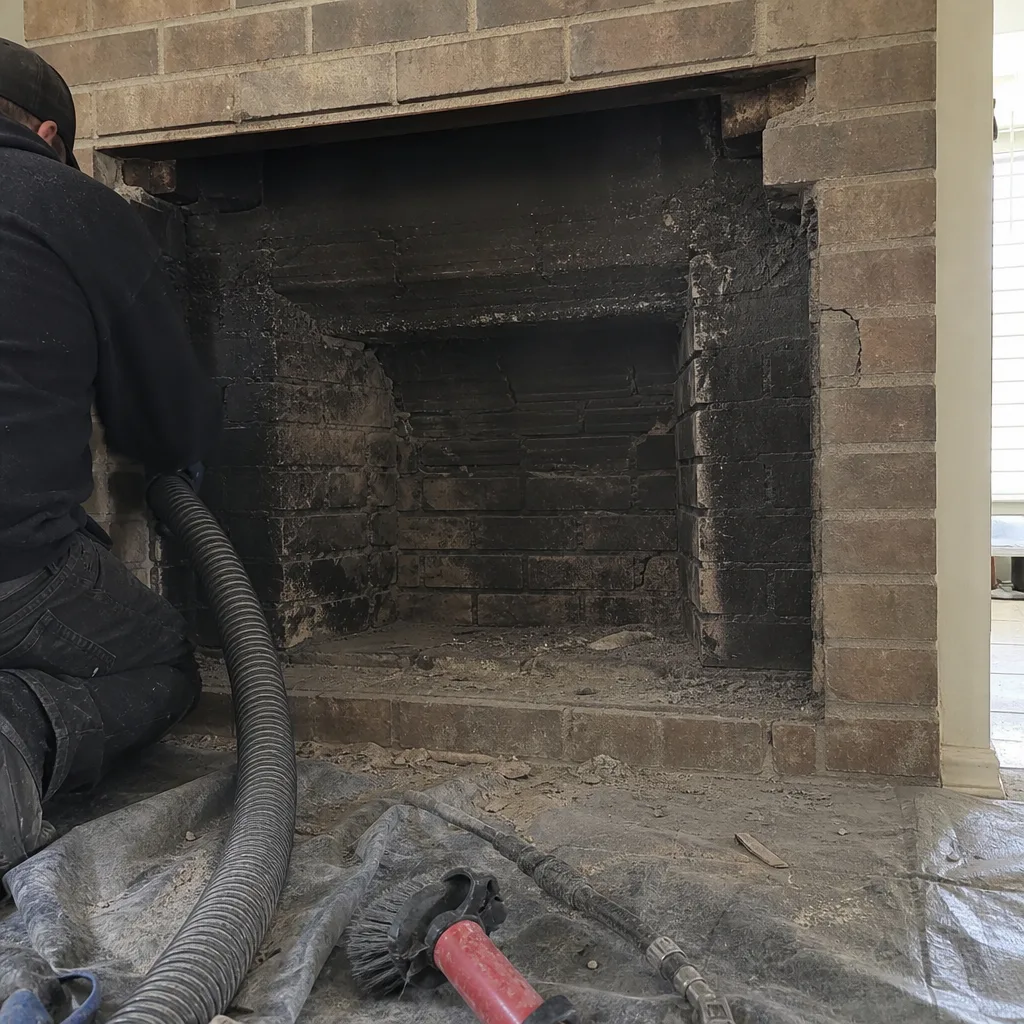 Before
 After
 Before
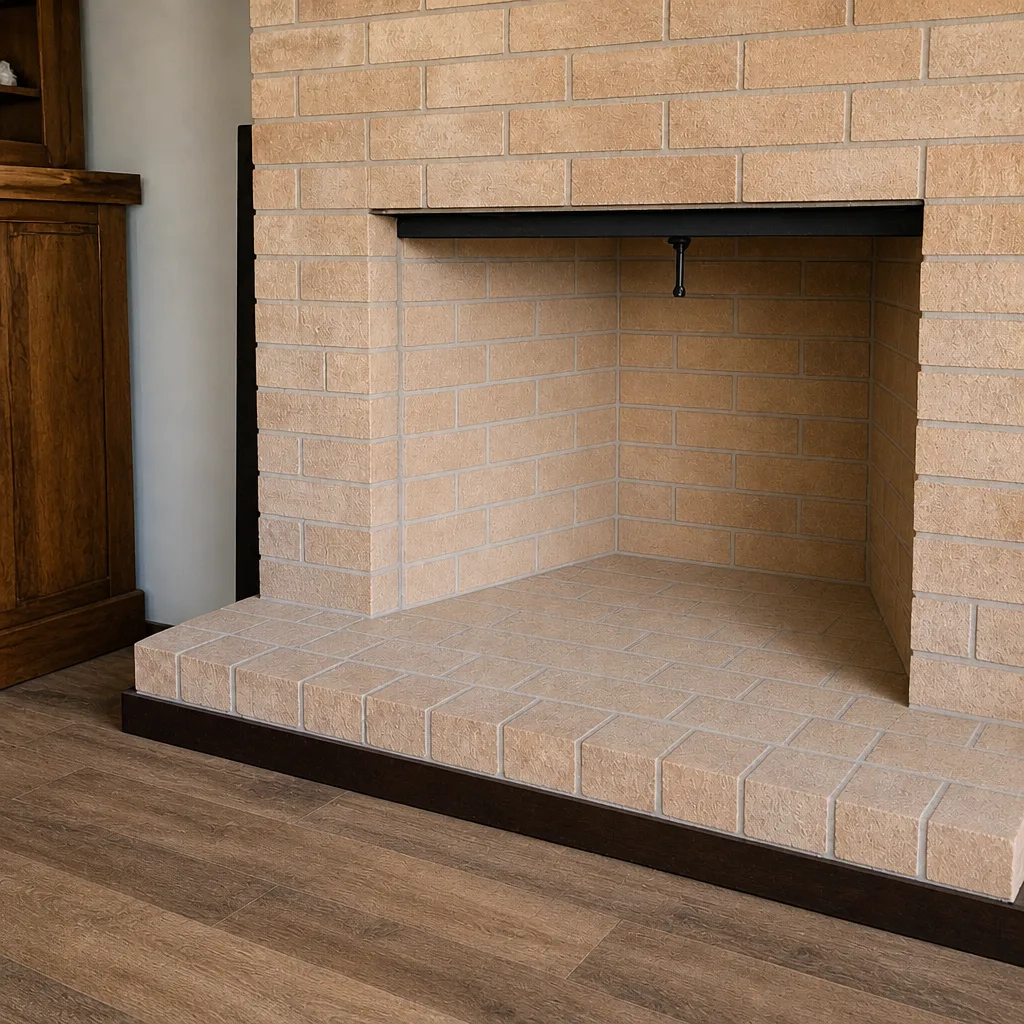 After
Frequently Asked Questions
Inspect once a year, sweep when creosote or soot reaches about a quarter-inch. A heavy burner in Midland may need a sweep more than once a season, and a light burner may go two or three seasons between sweeps. The annual inspection catches the rest of the checklist – cap, crown, damper, firebox – regardless of how much you burned. Call (866) 942-7865 for a free estimate on a sweep and inspection together.
Efflorescence is white mineral powder on the surface, cosmetic and usually harmless. Spalling is the brick face flaking or chipping off, exposing a softer layer underneath, and it signals that moisture is working behind the surface or the mortar is failing. Efflorescence is a watch item; spalling is a call-a-professional item. If you’re not sure which you’re seeing, a walk-around with a technician settles it quickly – call (866) 942-7865 for a free estimate.
Not always – we only recommend a reline when the camera evidence shows the flue can’t be safely restored. If the flue is salvageable, we apply HeatShield ceramic resurfacing rather than going straight to a full DuraFlex liner. You see the camera footage before you decide. Call (866) 942-7865 for a free estimate and we’ll show you what the flue actually looks like.
Two things get missed: creosote buildup that can ignite, and exterior masonry damage that quietly widens over a season of Midland wind and sun. Creosote is a fire risk. Masonry degradation is a repair risk that gets bigger the longer it’s left. Neither is a reason to panic – it’s a reason to book the inspection. Call (866) 942-7865 for a free estimate.
With the fireplace cold, open the damper and feel for full travel from closed to the open stop, then close it and check that it seats flush against the frame. Note any scraping, stiff spots, or gaps at the edges when closed. A damper that opens but doesn’t reach its stop, or closes with a visible gap, needs repair. Call (866) 942-7865 for a free estimate on a damper inspection and repair.
Both are combustion-exhaust systems, and both are fire risks when the run is restricted. Combining the chimney sweep with a dryer vent cleaning visit means one professional inspects the whole loop in one appointment. If a transition duct or vent flap needs replacement, we carry Famco-compatible parts. Call (866) 942-7865 for a free estimate on a combined visit.
The Bottom Line
The purpose of a chimney maintenance checklist is confident decisions, not more anxiety. If you can tell efflorescence from spalling, a heat-check crack from a widening one, and a loose cap from a merely old one, you know when to watch and when to call. In Midland’s dry, windy climate, the exterior and the cap deserve as much attention as the creosote question, and the dryer vent belongs in the same walk-around. Inspect once a year, sweep on the quarter-inch rule, and when you see something that’s clearly degrading, get it looked at. Chimney Sweep Midland covers sweep, repair, and dryer vent from one specialist, with camera evidence in hand. Call (866) 942-7865 for a free estimate. We answer 24/7. Fast dispatch from 7am to 7pm, Sunday through Friday.
Written by the team at Chimney Sweep Midland, serving Midland since 2011.