
Last updated November 14, 2026
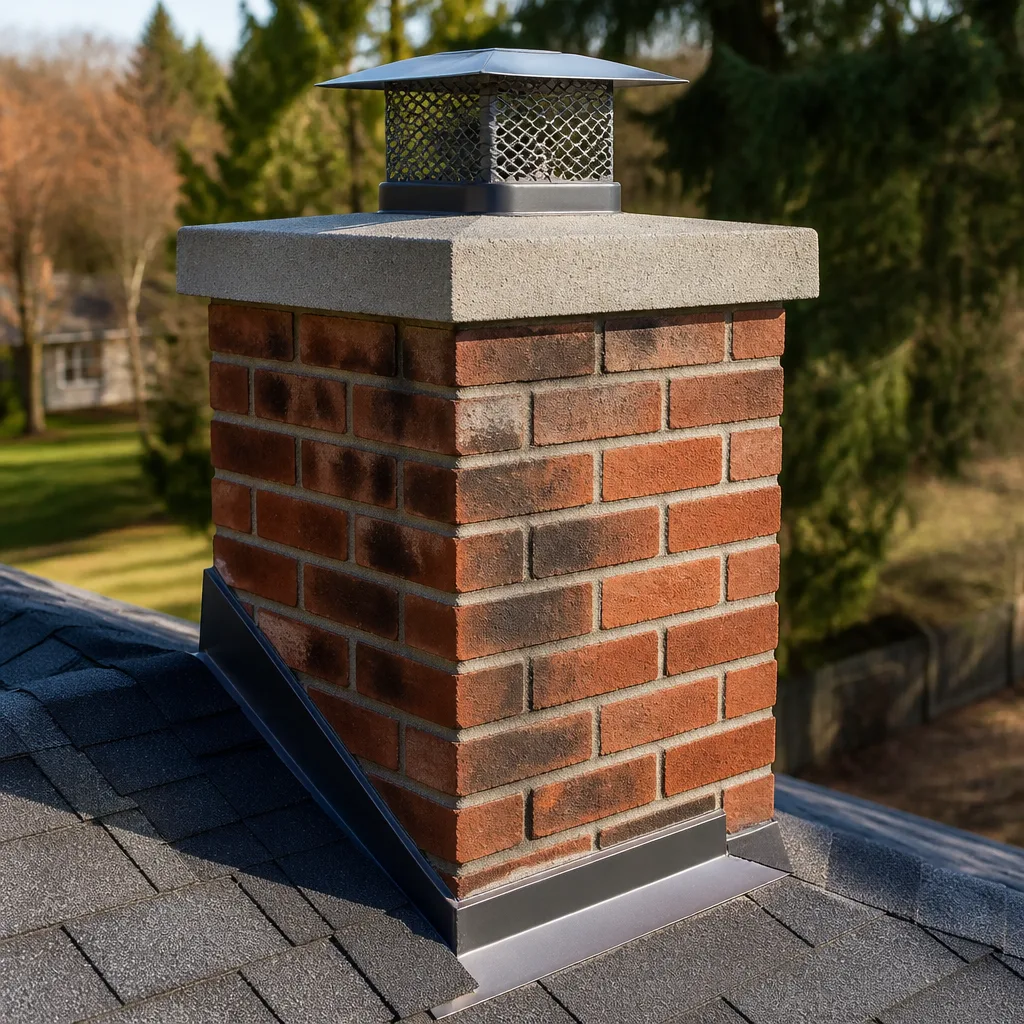 Sweep & inspection
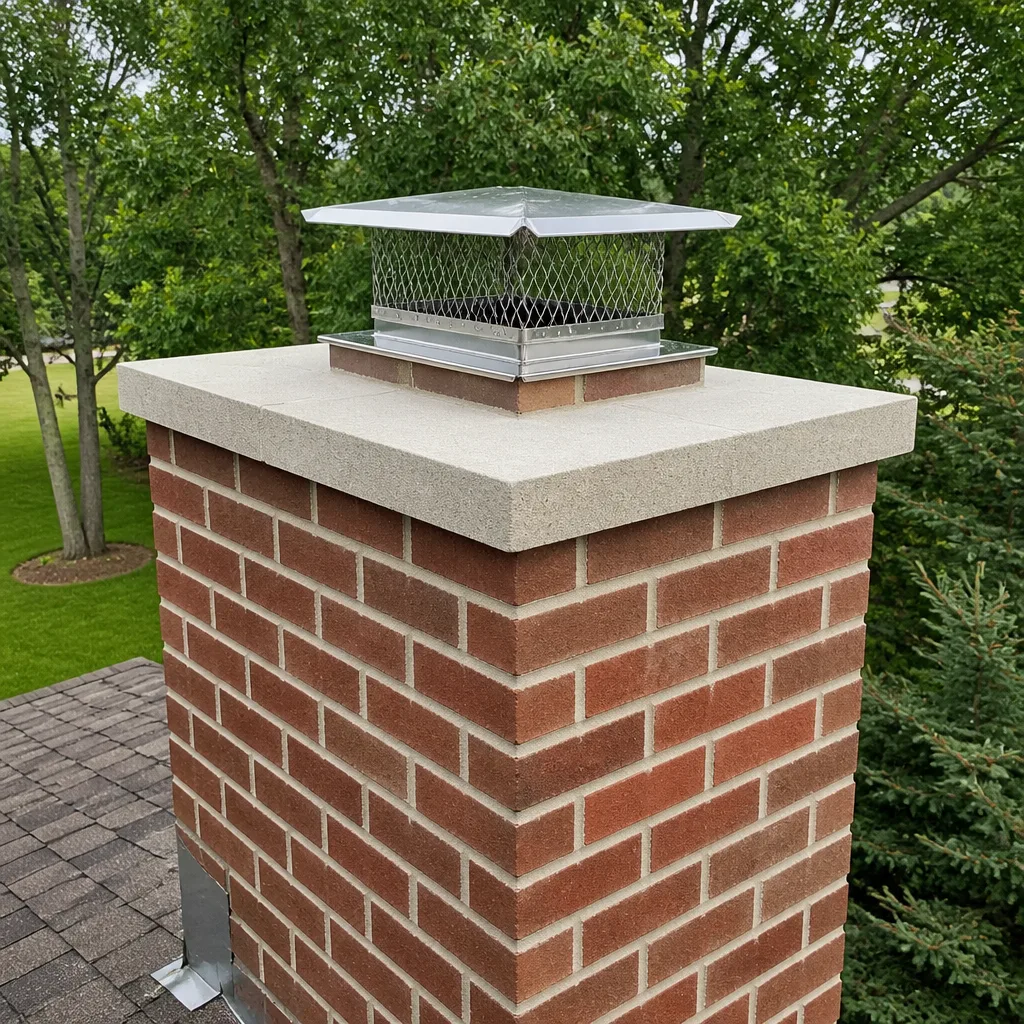 Caps & crowns
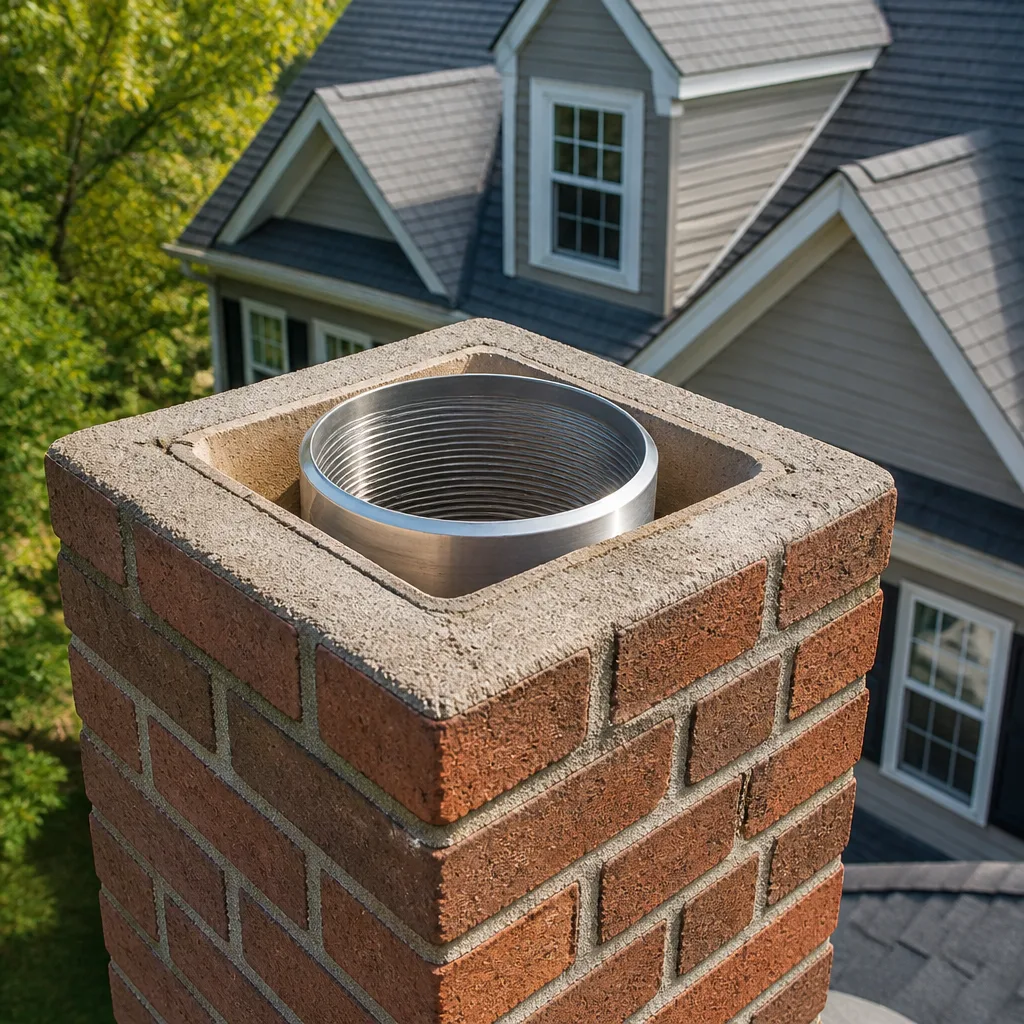 Flue relining
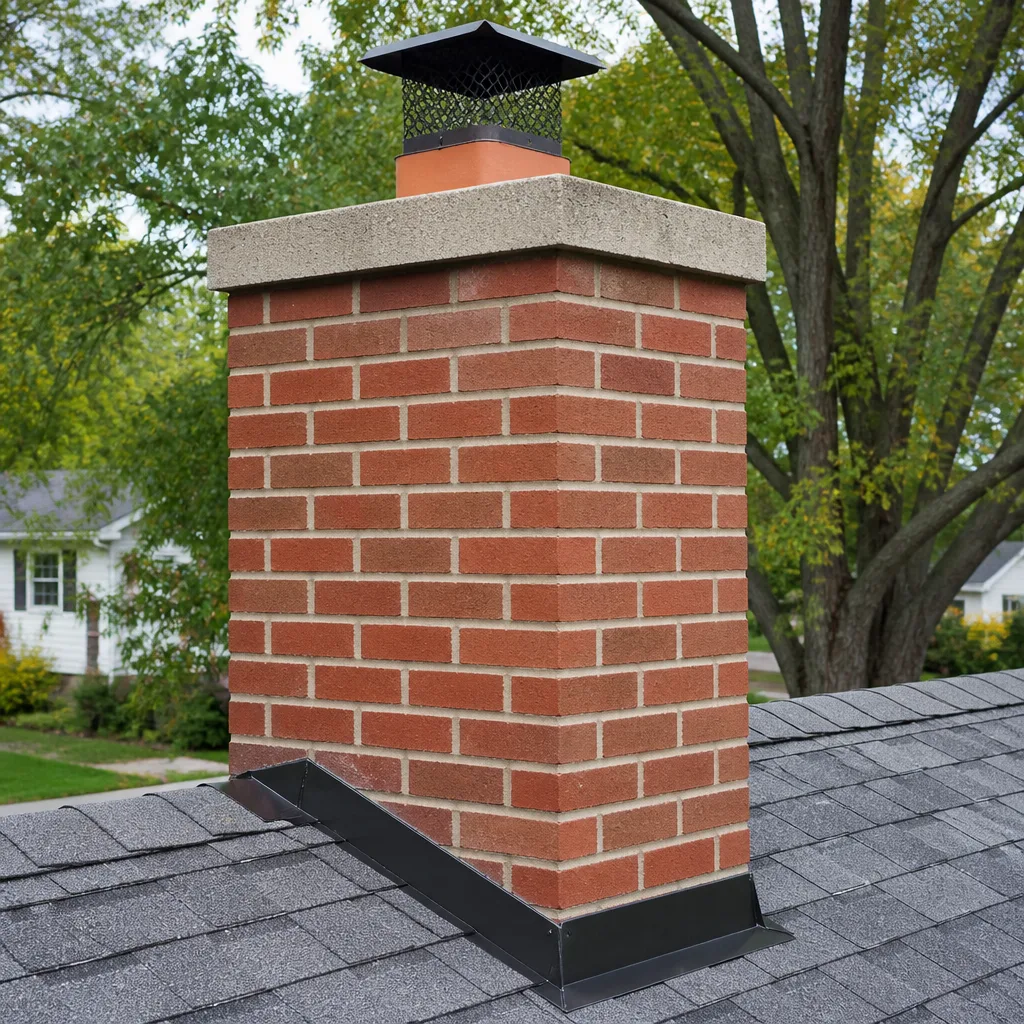 Masonry repair
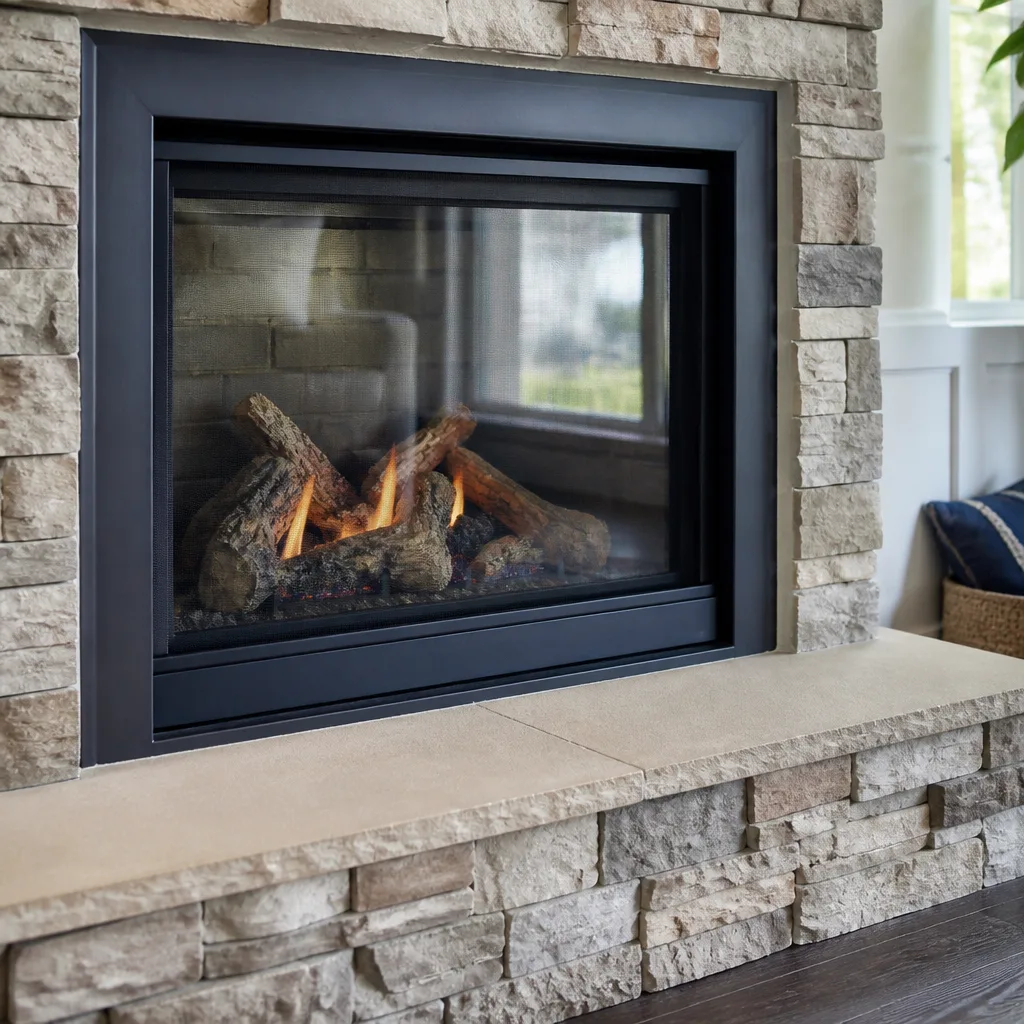 Gas fireplace service
Level 1 sweep and inspection to the NFPA 211 annual standard - flue, crown, cap, and flashing checked and photographed
Chimney sweep logs do not sweep chimneys. They loosen some creosote - which then falls where a brush and vacuum still have to collect it.
DIY vs Professional Chimney Cleaning: The Midland Homeowner’s Decision Guide
Most advice about cleaning your own chimney splits into two camps that don’t help anyone: “always hire a pro” or “anyone with a brush can do it.” Both are wrong, and the honest answer sits in the middle. The real question isn’t whether you can save money. It’s whether the job in front of you is a maintenance task or a hazard. A homeowner with a decent poly brush rod set, a HEPA shop vac, and light stage 1 creosote can handle the firebox and lower flue safely. Change one variable, like stage 2 creosote or a clay-tile liner of unknown condition, and the math flips fast. This guide draws that line for Midland homeowners, with the tools, the risks, and the honest break-even point.
Quick Answer
DIY chimney cleaning in Midland is realistic only when the creosote is light stage 1, the flue is accessible and undamaged, and the roof is safe to work from. Anything past that, meaning glazed or tar-like creosote, a liner whose condition you can’t confirm, or a cap and crown that need repair, calls for a professional sweep with the right equipment and liner knowledge. The work is not equally hard in both directions. It’s a different job entirely once you cross that line.
Styles & brands we work with
- Sweep & inspection
- Caps & crowns
- Flue relining
- Masonry repair
- Gas fireplace service
Table of Contents
- What DIY Chimney Cleaning Can Realistically Accomplish
- What DIY Cannot Do Safely, and Why
- The Equipment Gap: Why Your Shop Vac Isn’t a Chimney Vac
- Creosote Stages and What Each One Demands
- Midland Rooflines, Caps, and Crown Work
- Insurance and Liability: What a DIY Repair Can Cost You Later
- The Honest Break-Even Point
- A Step-by-Step Walkthrough of a Safe DIY Sweep
What DIY Chimney Cleaning Can Realistically Accomplish
There’s a real category of chimney maintenance a careful homeowner can do. It’s smaller than most tutorials suggest, but it exists. If your fireplace sees regular winter use and you have the right tools, you can handle the firebox and the reachable lower flue on your own between professional sweeps.
Here’s what a prepared homeowner can realistically do:
- Firebox brushing: Remove soot and ash from the firebox walls with a stiff-bristle brush sized to the opening. This keeps the firebox clean and lets you see the masonry condition clearly.
- Ash management: Empty the ash pan and clear the ash pit when it fills. Ash buildup restricts airflow and makes the fire burn inefficiently.
- Stage 1 creosote removal: Light, flaky, soot-like creosote in the lower flue section can often be brushed down with a poly brush on flexible rods.
- Damper and smoke shelf: Clearing soot from the damper and the smoke shelf above it is a reachable, useful task that improves draft.
On tool specs, the details matter. Use a poly brush with a diameter matched to your flue size. For a clay-tile liner, a poly brush is the safe choice; a metal brush can score and crack older clay tile. For a stainless liner, poly is still the standard for routine cleaning. Rods should be flexible enough to follow the flue without binding. That reduces the chance of dislodging tile joints.
What matters most is knowing when to stop. If the brush meets hard, glazed resistance, or if you see cracked tile or missing mortar from above, put the tools down and call a sweep. A professional visit from a Chimney Sweep Midland technician will confirm the liner condition and clear what you can’t safely reach. That confirmation is worth more than any savings on a brush.
What DIY Cannot Do Safely, and Why
The tasks a homeowner cannot safely do fall into three groups: heavy creosote removal, liner condition assessment, and exterior repair work. Each one requires equipment or knowledge that goes beyond what a brush and a shop vac provide. Knowing which group you’re facing is the whole decision.
Stage 2 and stage 3 creosote removal. Stage 2 creosote is a hardened, tar-like deposit that clings to the flue wall. Stage 3 is the glazed, fuel-rich glaze that burns hottest. Neither comes off with a consumer brush stroke. Removing them safely requires rotary equipment and a controlled approach, and doing it wrong risks igniting the deposit. That’s a fire hazard, not a cleaning challenge.
Liner condition assessment. A clay-tile flue can look fine from the firebox and be cracked or separated higher up. Cracks let heat and gases reach combustible framing, and they’re exactly the kind of damage that leads to a chimney fire. You can’t confirm liner condition from the bottom of the flue. It takes a camera inspection and a trained eye. This is the single biggest reason DIY stops being a savings and starts being a liability.
Crown repair. A cracked crown lets water into the chimney structure. Repairing it properly means a hydraulic cement formulation matched to the job, not a tube of caulk from the hardware store. A patch that fails next season is worse than no patch, because it hides the problem while the masonry keeps taking on water.
Cap installation on steep Midland rooflines. Setting a cap correctly means working at the top of the flue on a pitched roof. That’s height work, and it’s where most homeowner injuries happen. A cap that’s sized wrong or poorly seated lets water in and invites birds and debris. We install caps using Gelco products sized to the flue, which is a five-minute job from the right place and a risky one from the wrong one.
The Equipment Gap: Why Your Shop Vac Isn’t a Chimney Vac
The most common DIY mistake isn’t the brushing. It’s the vacuum. A standard shop vac without HEPA filtration captures the big debris and blows the fine particulate back into your living room. In a Midland home, that’s a compounded problem: you’re not just releasing soot, you’re releasing it into air that already carries fine dust from the region’s caliche soil.
A proper chimney sweep setup uses a high-volume HEPA vac with a sealed connection to the firebox opening, so the whole cleaning happens under negative pressure. The fine soot and any caliche dust that comes out of the flue get captured at the source. That’s why a professional sweep leaves the room cleaner than it started, not dustier.
A HEPA-rated shop vac is the one upgrade worth considering if you’re committed to doing your own stage 1 cleaning. A cheap unrated vac and a so-called chimney brush kit will scatter fine soot across the room faster than you can clean it up. The difference isn’t convenience. It’s what ends up in your lungs and on your furniture.
There’s a second equipment gap that’s easy to miss: rods. Consumer rod sets are shorter and less flexible than trade rods. In a tall flue, short rods mean more connections and a higher chance of one coming loose inside the chimney. A brush head left in the flue is a real problem to retrieve, and it’s exactly the kind of thing a professional setup prevents.
Creosote Stages and What Each One Demands
Creosote forms in three stages, and each one demands a different response. Knowing where you stand is the first step of the whole decision.
- Stage 1: Light, flaky, soot-like deposits. This is the routine buildup from normal burning and it brushes off. A homeowner with poly rods and a HEPA vac can handle stage 1 in the reachable lower flue.
- Stage 2: Hardened, tar-like and clinging. This is where DIY stops. Stage 2 requires rotary cleaning to remove fully, and a homeowner brushing at it risks smearing it rather than clearing it.
- Stage 3: Glazed, fuel-rich and highly combustible. This is the stage that feeds chimney fires. It needs professional removal and often a liner assessment afterward to see whether the flue survived.
Midland’s climate matters here more than most homeowners realize. Winters are mild, which means people tend to burn in shorter, less consistent stretches. A fire that smolders at low temperatures produces more creosote than a hot, active burn. Cooler flue gases condense on the flue walls, and that condensation is what deposits creosote. If you burn slow or damp wood, you’ll build creosote faster than the neighbor who burns dry hardwood hot.
A quick way to gauge stage 1 versus stage 2 yourself: run a gloved hand along the flue wall you can reach, or look at the damper and smoke shelf. Flaky and soot-like means stage 1. Sticky, hard, or tar-like means stage 2, and it’s time to call. Call (866) 942-7865. We answer 24/7. Fast dispatch from 7am to 7pm, Sunday through Friday.
Midland Rooflines, Caps, and Crown Work
Caps and crowns are where DIY chimney work gets genuinely dangerous. The work is at the top of the flue, on a pitched roof, often with nothing but the roof pitch itself to hold you. That’s height work, and it’s not a task to learn as you go.
A proper chimney cap does three jobs. It keeps rain out of the flue, it keeps birds and debris out, and it provides spark protection. When a cap is missing or damaged, water gets into the flue and the crown, and the chimney starts deteriorating from the top down. An undersized or poorly seated cap that a homeowner installs can be worse than no cap, because it channels water right where the flue is most vulnerable.
We install caps using Gelco products sized to the flue opening, and we set them properly so they shed water and stay seated. On the crown side, a cracked or crumbling crown needs a hydraulic cement repair, applied so it sheds water away from the flue. This is where our HeatShield capability matters for the flue interior as well. HeatShield is a ceramic resurfacing system that can restore a salvageable flue as an alternative to full relining, which turns a “you need a new liner” diagnosis into a repair in the cases where the flue can be saved.
When we look at the crown, we’re honest about what can wait. A hairline crack that isn’t leaking isn’t an emergency; a crown that’s crumbling and letting water into the masonry is a real problem, and it’ll cost more the longer it sits. You’ll see the crack yourself in the inspection photos before we recommend anything.
Insurance and Liability: What a DIY Repair Can Cost You Later
This is the part of the DIY conversation most guides skip entirely. If your chimney is involved in a fire, your homeowner’s insurance claim turns on documentation. When was the chimney last swept? What did the sweep find? What was repaired, and by whom? A DIY repair that isn’t documented, or worse, one that was done without a permit where the local code required one, leaves gaps that an adjuster will find.
Texas homeowners’ policies commonly require reasonable maintenance of the chimney as a condition of coverage. A claim can be complicated when the insurer can show the chimney was in known disrepair, or that a repair was done without records. That’s the real cost of a DIY fix that later fails: not the materials, but the claim outcome.
That’s why we put findings in writing. When our sweep inspects a flue and finds a problem, the report documents the condition with photos, so the homeowner has a record. When we reline with DuraFlex, that work and the materials are documented. If a claim ever needs it, the paperwork exists.
It’s not a reason to fear a DIY stage 1 brush of your own firebox. That’s normal maintenance. But it is a reason to think twice about repairing your own crown or installing your own cap and then never recording it. Condensed into a single line: keep the receipt, keep the record, or have the work done by someone who keeps it for you.
The Honest Break-Even Point
So when does DIY actually save you money, and when does a professional visit pay for itself? Here’s the honest accounting, without a pitch.
If you already own a HEPA shop vac and a poly brush rod set, stage 1 cleaning of your own firebox and lower flue costs you an afternoon of time and nothing more. That’s a genuine savings, and it’s the case most homeowners face most of the time.
If you don’t own that equipment, the math changes. A HEPA-rated shop vac, a set of flexible poly rods, a brush sized to your flue, and basic protective gear can approach or exceed the cost of a professional sweep. And that’s before you’ve actually used them. Here’s the breakdown by task:
- Stage 1 cleaning of a reachable firebox: the one task where a prepared homeowner saves real money.
- Stage 2 or 3 creosote removal: needs pro equipment; DIY isn’t a savings, it’s a risk.
- Liner inspection: pro camera work: DIY can’t do it; no substitute.
- Crown repair: pro materials (hydraulic cement); DIY patch fails and costs more later.
- Cap installation: pro install (Gelco sizing), height work: no savings worth the fall risk.
- Relining: DuraFlex, pro-installed: not a DIY job at all.
A chimney sweep from Chimney Sweep Midland is priced per job by a written estimate, so you know the cost before anything starts. The estimate is free. If you’re comparing that against a full DIY tool kit, the comparison is closer than you’d think, and only one of them leaves a record and a trained eye on the flue.
For a maintenance plan, a chimney sweep on a regular cadence keeps creosote in stage 1 and catches liner problems early. That’s where professional work earns its place: it prevents the two categories of damage that DIY can’t fix.
A Step-by-Step Walkthrough of a Safe DIY Sweep
This walkthrough covers only the stage 1 firebox and lower-flue cleaning a homeowner can do safely. If at any point you find something outside that scope, stop and call.
- Clear the room and protect the floor. Move furniture and rugs back, and lay down a drop cloth or plastic sheeting around the hearth.
- Seal the firebox opening as best you can. Tape plastic over the opening, leaving access for the rods and vac hose. This is the workaround for not having a pro’s negative-pressure system.
- Open the damper and check the smoke shelf. Brush soot from the damper plate and the smoke shelf above it with a hand brush.
- Run your inspection light up the flue. Look for flaky stage 1 creosote. Look just as hard for cracked tile, missing mortar, or tar-like deposits. Any of those means stop.
- Brush the reachable lower flue. Use flexible poly rods with a brush sized to the flue. Work in short, steady strokes from below, letting debris fall into the firebox.
- Vacuum with HEPA filtration. Vacuum the firebox and any settled dust with a HEPA shop vac, working slowly so you don’t stir up what you’re trying to capture.
- Bag and dispose of the creosote. Seal the debris in a heavy bag and dispose of it outside. Don’t leave it in the house.
Before you climb anything, one safety note that overrides the whole walkthrough: cap installation, crown work, and any task on the roof are height work, and they call for a trained professional. A fall from a pitched roof is the most serious outcome of a DIY chimney afternoon. Leave the roof to a professional.
If you use a wood-burning insert, the firebox that most inserts leave little room to reach the flue effectively. The insert has to come out, or the flue has to be swept with the right tooling above it. That’s beyond a homeowner’s reach, and it’s one of the cases where calling us first is the cheaper start. And while we’re on airflow systems in the house, the same fire-safety logic applies to your dryer. A clogged dryer vent is one of the leading residential fire causes, and dryer vent cleaning is the second exhaust system in your home worth staying ahead of. One call to a Midland specialist covers both.
Common Mistakes to Avoid
- Using a metal brush on a clay-tile liner. A metal brush can score and crack older clay tile. Use poly on clay, and if the tile is already cracked, stop and call a sweep.
- Running a standard shop vac without HEPA filtration. In a Midland home, this pushes fine soot and caliche dust into the air. You’re not cleaning the room, you’re coating it.
- Brushing past stage 1 without checking the flue. Soot look wrong at the damper, means stop. Hard tar-like or glazed deposits are stage 2 or 3 and need a professional.
- Confusing a “no cap” situation with a “cheap cap” solution. An undersized cap that channels water onto the flue is worse than none. Cap sizing is the whole job, which is why we use Gelco.
- Patching a cracked crown with caulk. A caulk patch hides the crack and fails at the first hard rain. The fix is a hydraulic cement repair, done properly with the drainage slope built in.
- Doing roof work yourself without a fall plan. Midland’s pitched rooflines are not a practice surface. Cap and crown work belongs to a trained professional on the roof.
- Skipping the documentation. A DIY repair with no record can complicate an insurance claim later. If you do the work yourself, at least record what you did and when.
See the difference
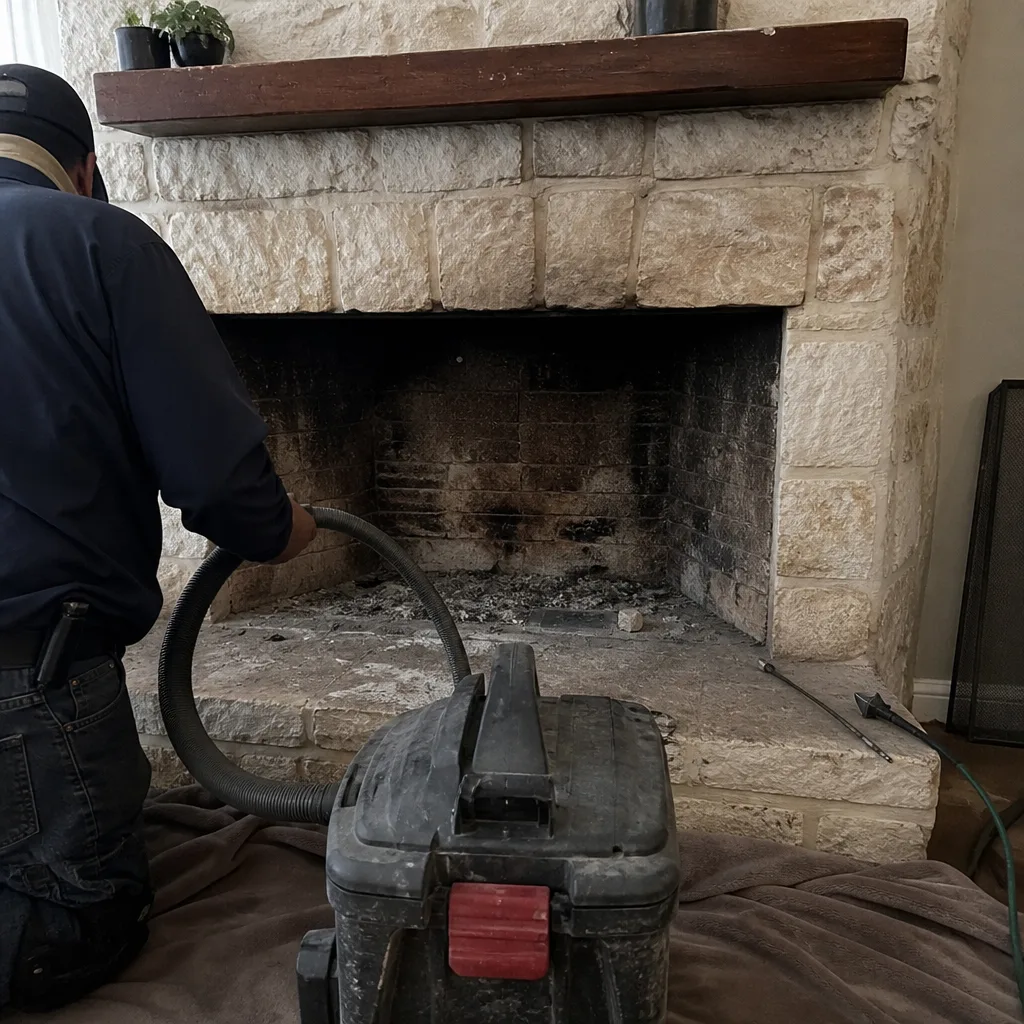 Before
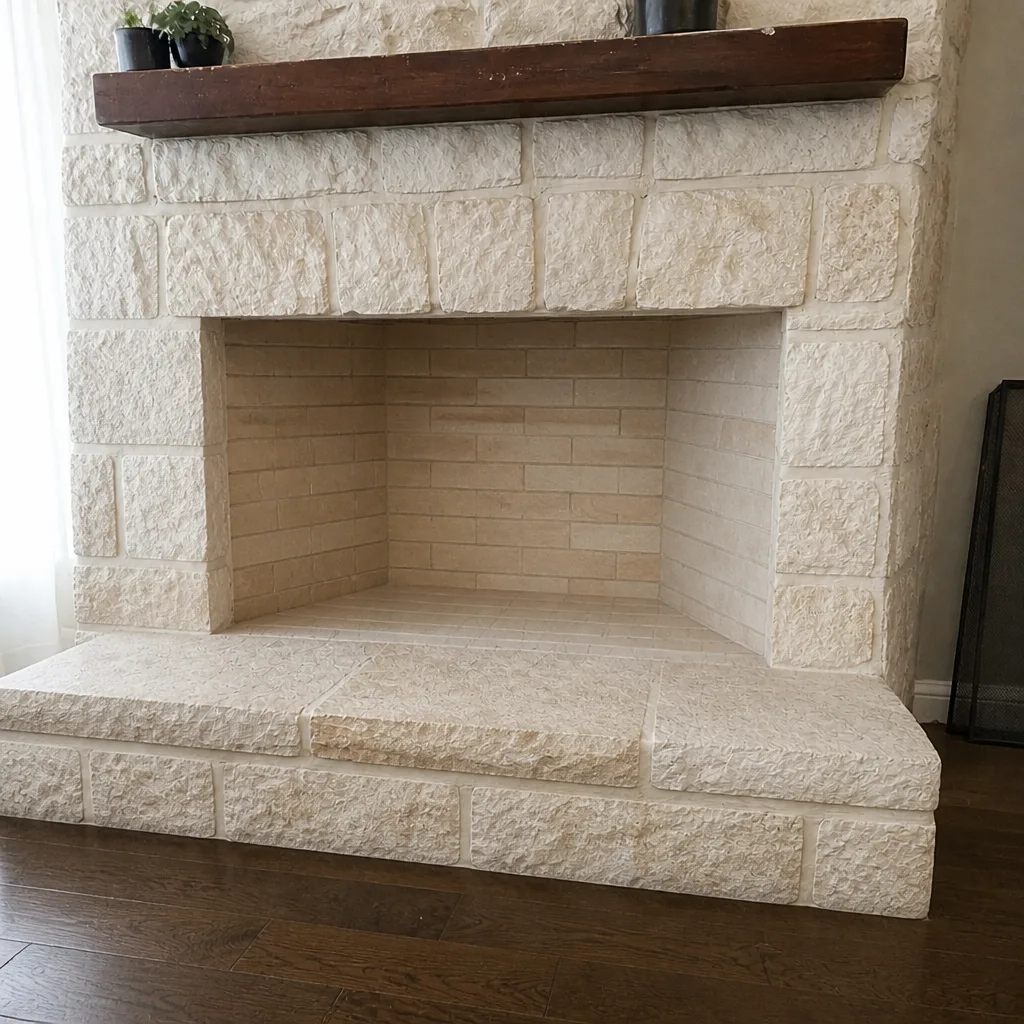 After
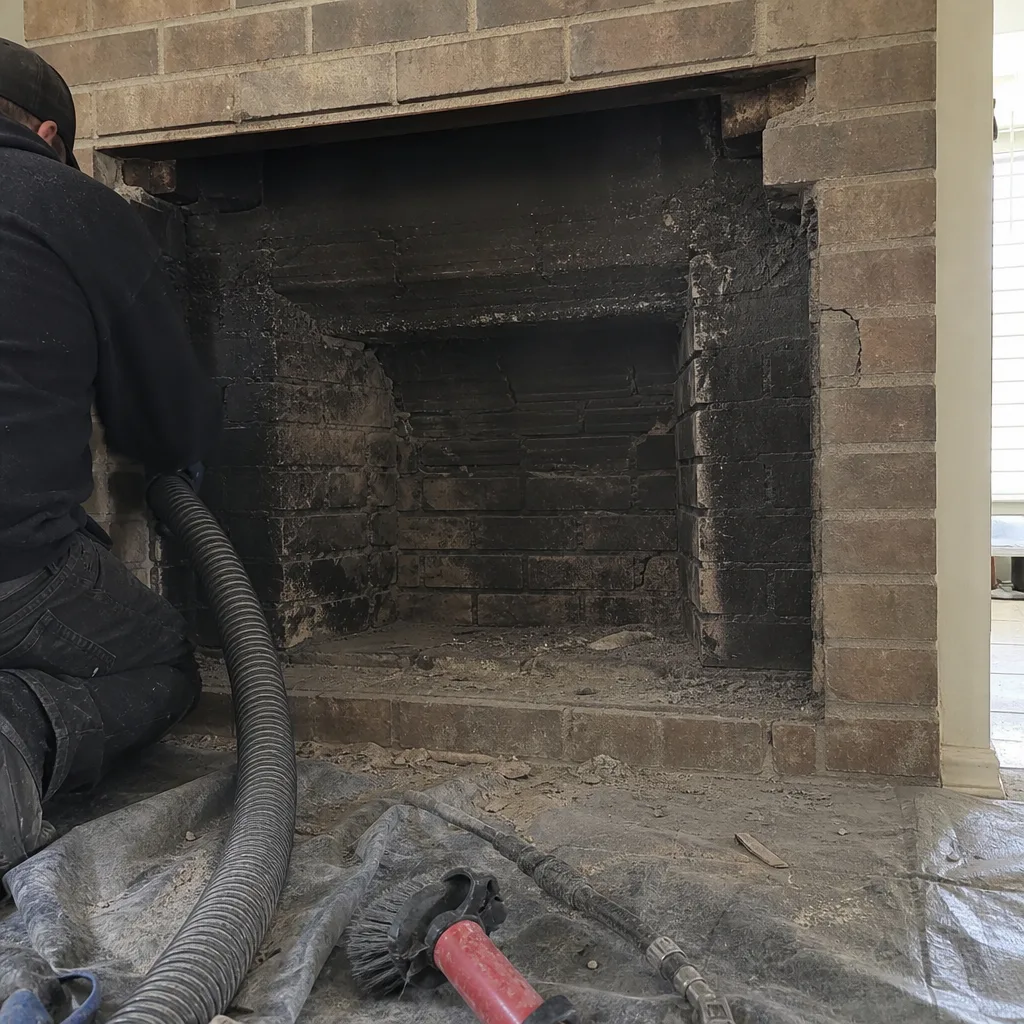 Before
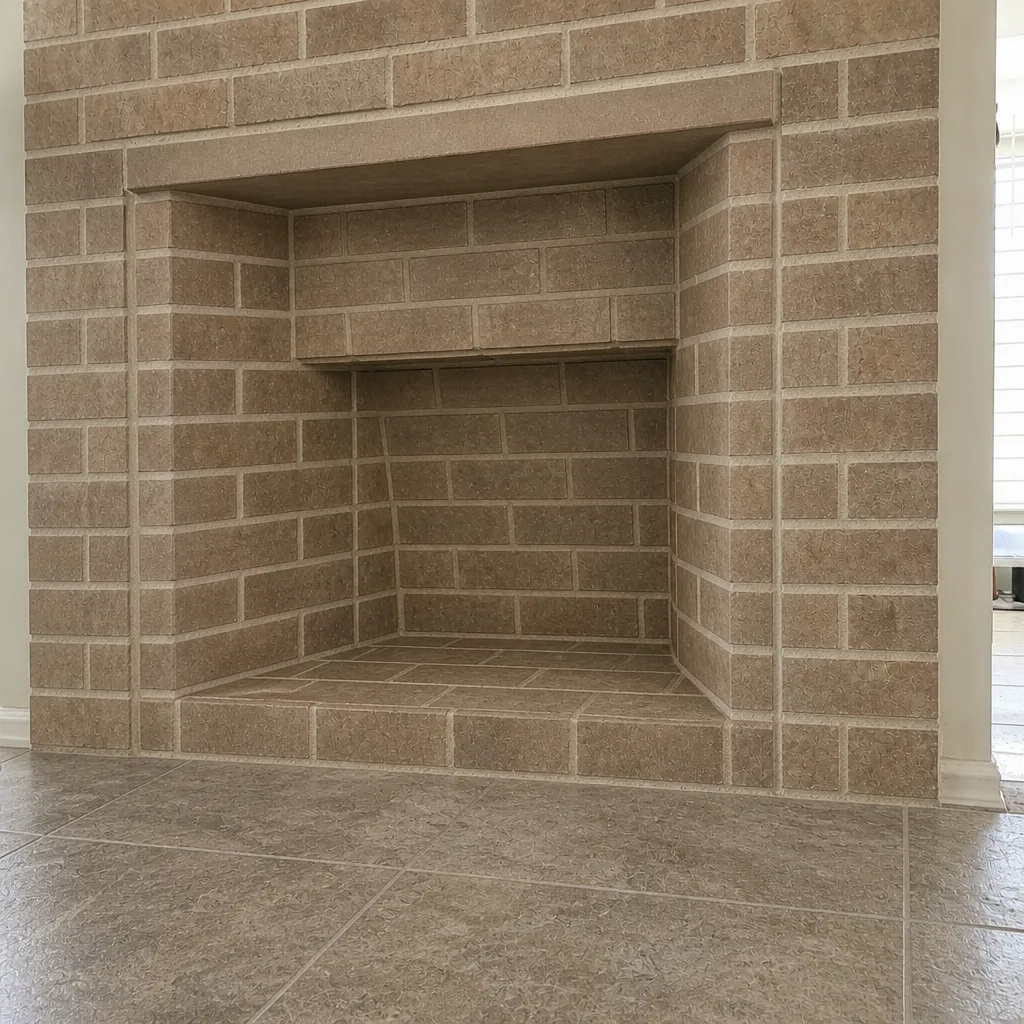 After
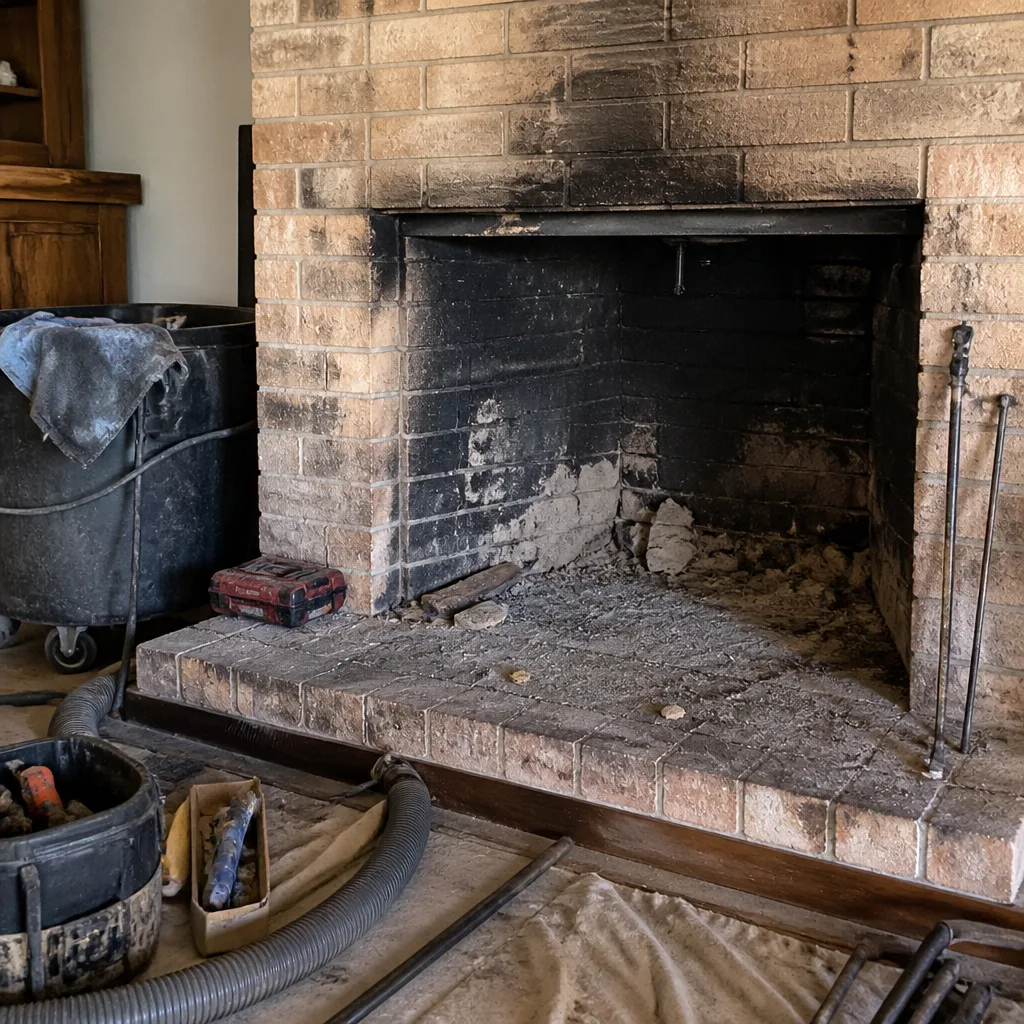 Before
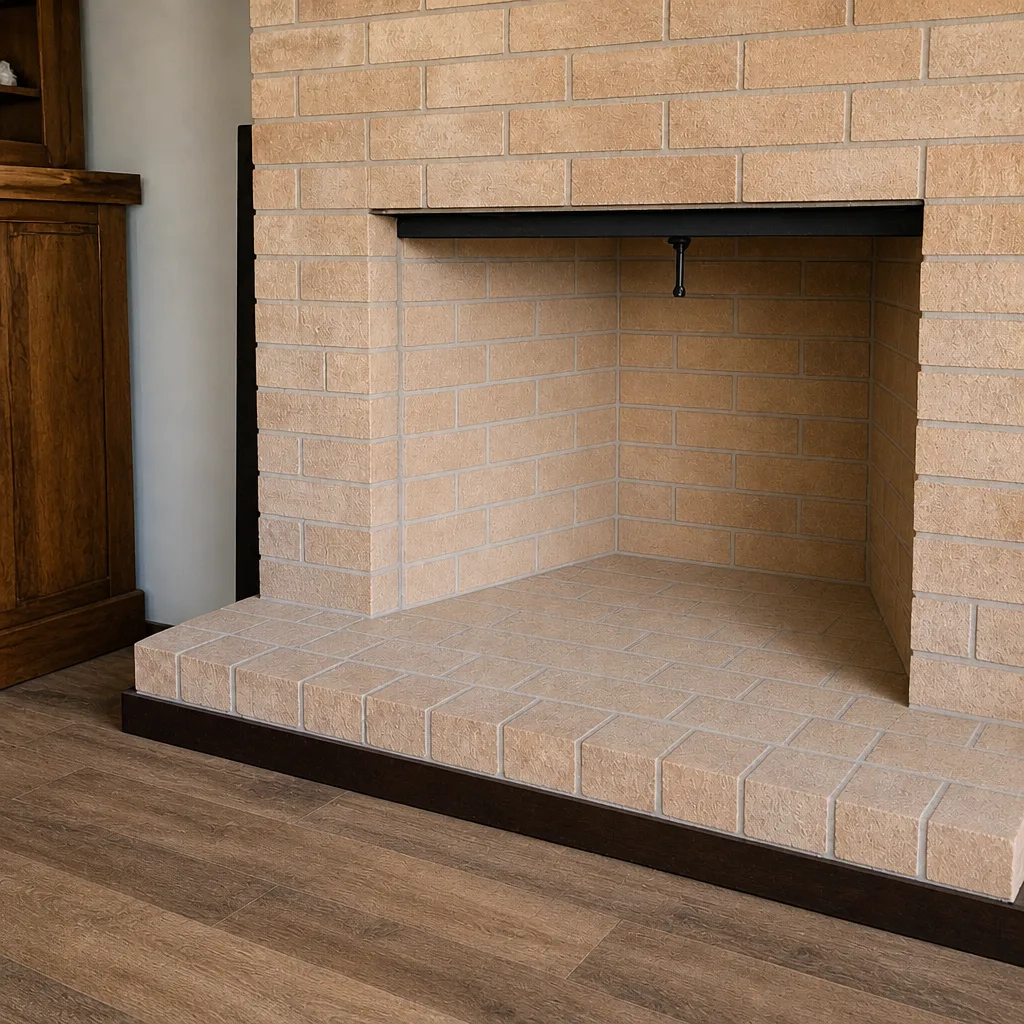 After
When to Call a Professional
Call a professional sweep when you find any of these: creosote that’s hard, sticky or glazed rather than flaky; a firebox or flue with cracked tile, missing mortar, or a liner you can’t see the full length of; a crown that’s cracked or crumbling; a missing or damaged cap; or a wood-burning insert that needs to come out for the flue to be reached. Call as well if your fireplace has gone more than a season without a sweep, or if you’ve had a chimney fire, even a small one. A chimney fire can damage a liner in ways you won’t see from the firebox, and a professional camera inspection is the only way to know.
Chimney Sweep Midland offers free estimates in Midland. Call (866) 942-7865 to get a written estimate for the work, so you know the cost before anything starts. You’ll see the inspection findings yourself, and if a job can safely wait, we’ll tell you.
Frequently Asked Questions
You can safely clean your own firebox and the reachable lower flue when the creosote is stage 1 and the flue condition is known. Anything beyond that, including stage 2 or 3 creosote, a liner you can’t inspect, or roof-level repair work, needs a professional sweep. The line is creosote stage and liner condition, not the size of the firebox.
At minimum: a poly brush sized to your flue, flexible rods long enough for your flue height, a HEPA-rated shop vac, and an inspection light. A standard non-HEPA shop vac is the common mistake and it scatters fine soot instead of capturing it. If you don’t already own most of that list, the tool cost approaches the cost of a professional sweep. Call (866) 942-7865 for a free estimate to compare.
Stage 1 creosote is flaky and soot-like, and it brushes off; stage 2 is hardened, sticky or tar-like and clings to the flue wall. Probe the reachable flue wall with a gloved hand or an inspection light at the damper. If it’s flaky, you can handle stage 1. If it’s sticky or hard, that’s stage 2 and it’s time to call. Call (866) 942-7865 for an exact quote. Estimates are free.
Cleanings aren’t usually what claims turn on. Repairs are. A DIY repair that wasn’t documented or permitted can complicate a claim later when the insurer asks what was done. Keep a record if you do the work yourself, or have the work done by a sweep who documents it with photos and a written report. Call (866) 942-7865 to get a documented inspection, and estimates are free.
No, not safely on a pitched roof, and cap sizing is the part most homeowners get wrong. A cap that’s the wrong size channels water onto the flue, which is worse than no cap. We install caps using Gelco products sized to the flue. Call (866) 942-7865 for an estimate. We answer 24/7, with fast dispatch from 7am to 7pm, Sunday through Friday. Estimates are free.
The standard guidance is a sweep at least once per burning season, and more often if you burn frequently, burn slow or damp wood, or have a wood-burning insert. Midland’s mild winters mean shorter, less consistent burns, which can build creosote faster than a hot, steady burn. Book a dryer vent cleaning at the same time if your dryer vent hasn’t been done, since both are fire-safety airflow systems. Call (866) 942-7865. Estimates are free.
The Bottom Line
DIY chimney cleaning in Midland is a real option for one narrow set of conditions: stage 1 creosote, a known-good flue, and a firebox you can reach. Outside that, the savings disappear into equipment cost and risk. Stage 2 or 3 creosote, an uninspected clay liner, a cracked crown, or a cap install on a pitched roof all need a professional. The honest break-even point favors DIY only when you already own the HEPA vac and poly rods. When the job crosses the line, one call covers the sweep, the liner and cap work, and the dryer vent that’s part of the same fire-safety picture.
Call (866) 942-7865 for a free estimate on chimney cleaning, repair, or dryer vent work. We answer 24/7. Fast dispatch from 7am to 7pm, Sunday through Friday.
Written by the team at Chimney Sweep Midland, serving Midland since 2011.